DIY Concrete Repair Tips for Homeowners in Silt


Homeowners in Silt often encounter concrete surfaces that need some TLC. Whether it's your driveway, patio, or basement floor, cracks and wear can detract from the appearance and safety of your home. Fortunately, many concrete repairs can be tackled as DIY projects, saving you time and money. Here, we provide some essential tips and tricks for repairing concrete surfaces around your home.
Identifying the Problem
The first step in any concrete repair project is identifying the type and extent of the damage. Common issues include cracks, spalling, and discoloration. It's important to determine whether the damage is superficial or structural, as this will affect the repair method you choose.
Superficial cracks are often less than a quarter-inch wide and can usually be fixed with a simple patching compound. Larger cracks, however, may indicate a more serious problem and might require professional assessment.

Gathering Your Tools and Materials
Once you've identified the issue, gather the necessary tools and materials. For most DIY concrete repairs, you'll need:
- Concrete patching compound
- Chisel and hammer
- Wire brush
- Concrete sealant
- Trowel
- Safety gear (gloves and goggles)
Having the right materials on hand will make your repair job quicker and more efficient.
Preparing the Surface
Proper preparation of the surface is crucial for a successful repair. Start by cleaning the area with a wire brush to remove any loose debris. For larger cracks, use a chisel and hammer to undercut the edges slightly. This will help the patching material bond more effectively.

After cleaning and undercutting, rinse the area with water and let it dry completely before applying any repair products.
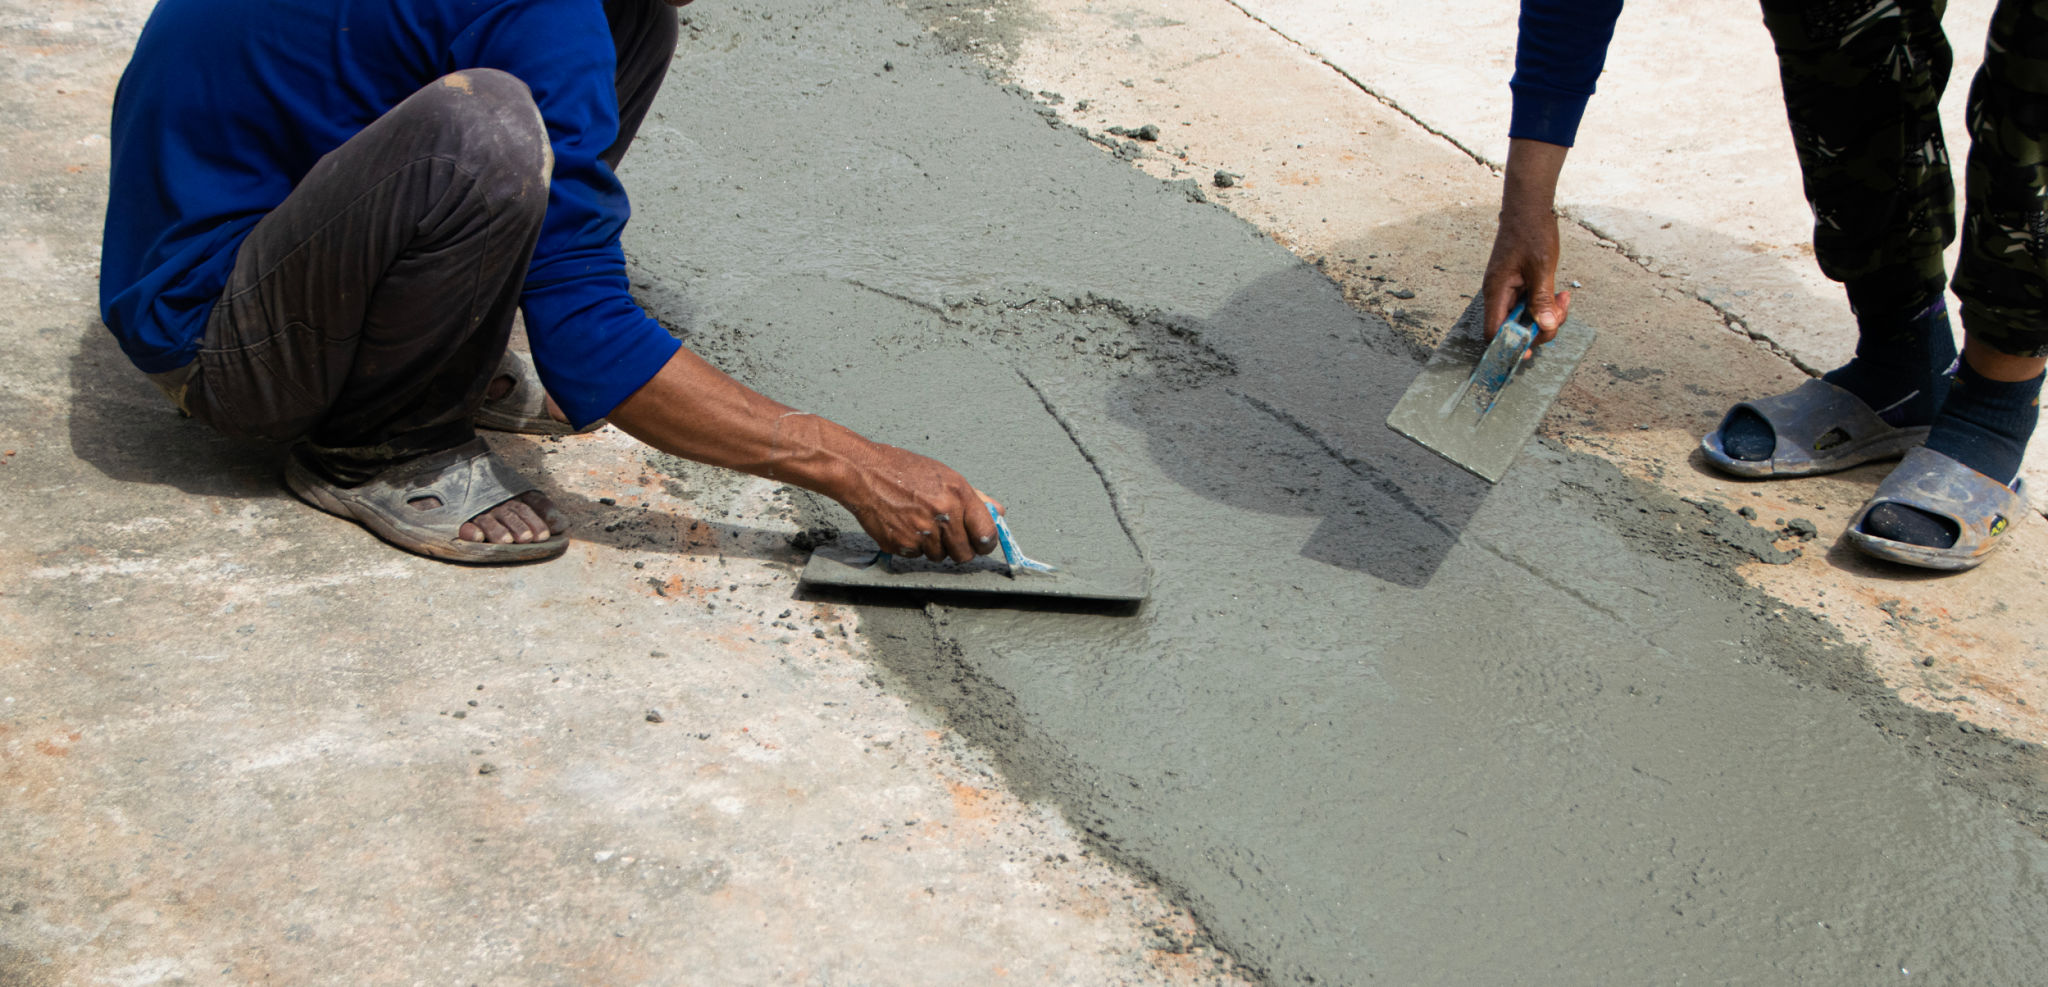
Applying the Patching Compound
Mix the concrete patching compound according to the manufacturer's instructions. Use a trowel to apply the compound to the damaged area, pressing it firmly into the crack. Smooth the surface with the trowel, feathering the edges to blend with the surrounding concrete.
Allow the patch to cure as per the instructions on the product packaging. Curing times can vary, so be sure to follow the guidelines for the best results.
Sealing the Repaired Surface
Sealing the repaired surface is an important step to prevent future damage. Once the patch has cured, apply a concrete sealant to protect against moisture and wear. Use a brush or roller for even application, and ensure the entire area is covered.
Allow the sealant to dry completely before using the surface. Depending on the product, this process may take up to 48 hours.
Regular Maintenance
To maintain the appearance and integrity of your concrete surfaces, regular maintenance is key. Keep surfaces clean and promptly address any new cracks or damage as they appear. Regular sealing can also help extend the life of your concrete, providing long-lasting results.

By following these DIY concrete repair tips, homeowners in Silt can protect and beautify their homes. With a little effort and the right materials, you can tackle minor repairs yourself, ensuring your concrete surfaces remain safe and visually appealing for years to come.